MIR Spiro User Guide
MIR Spiro Software
Installation of MIR Spiro Platinum Software
Setting Up the Software
Using the Software
Basic Functionality
Viewing and Analyzing Results
Navigating and Using MIR Spiro Software
1. Click "MIR Spiro"

2. Double-click "MIR Spiro"

3. Login with the password created when the software was installed

4. Click here

5. Click on Device to ensure the device is connected

6. The device will appear on the screen once connected

7. Then Click Home and Add New Patient
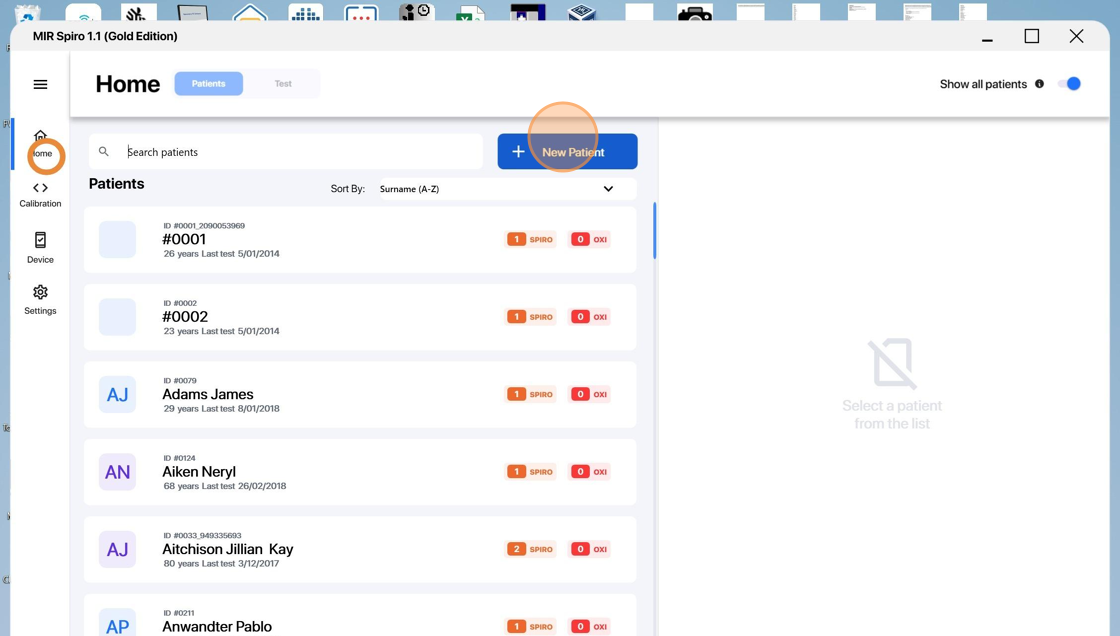
8. Click here to add Patient ID or Click AutoID

9. Fill in patient First and Last Name

10. Click here to select gender

11. Click here

12. Click here

13. Click here to choose ethnic group

14. Click here to add Risk Factors and Symptoms

15. Click here to Confirm Patient Information

16. Click FVC to conduct a Spirometry test
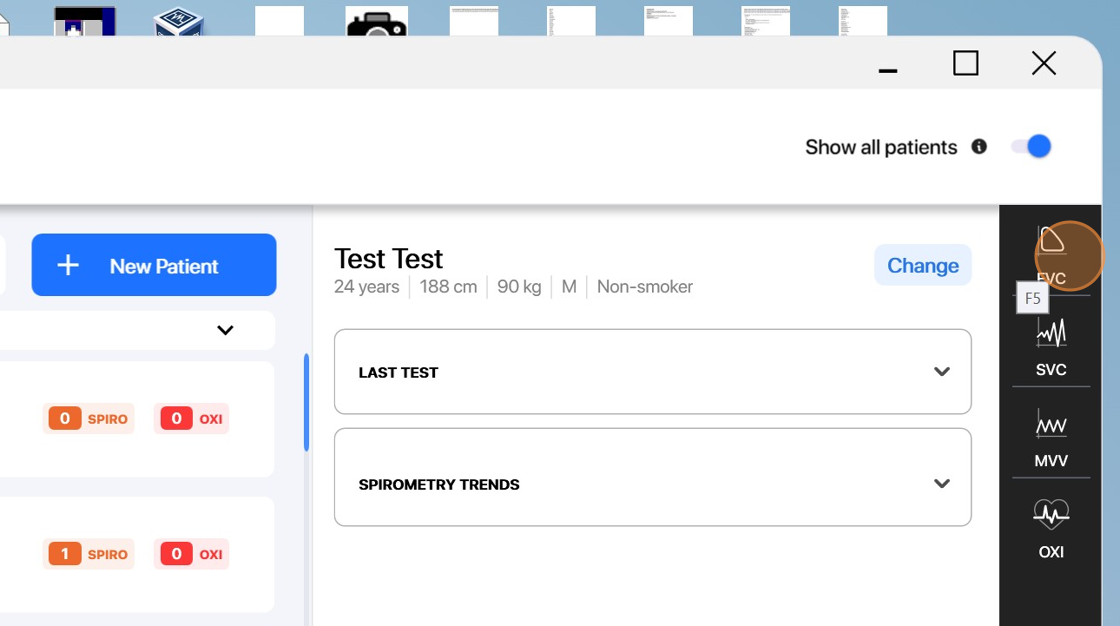
17. Click here to run a pre test

18. Click here to end test

19. Click here to run another pre test

20. Click here to end test

21. Click here to run another pre test
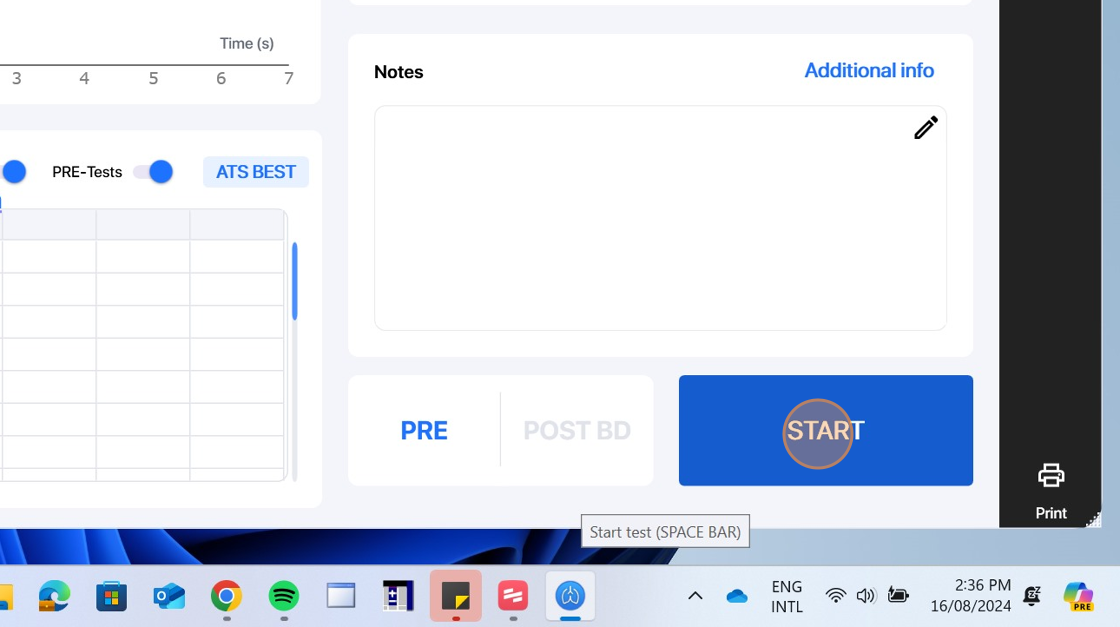
22. Click here end test

23. Click here to perform a post test

24. Click here

25. Click here

26. Click here

27. Click here

28. Click here

29. Click here

30. Click here

31. Click here

32. Click here

33. Click here

34. Click here

35. Click here

36. Click here to print and save your results

37. Click here

38. Click "WinSpiroPRO Classic" or "FVC ATS Standard"

39. Click here to save a PDF file

40. Click "Save"

41. Click here
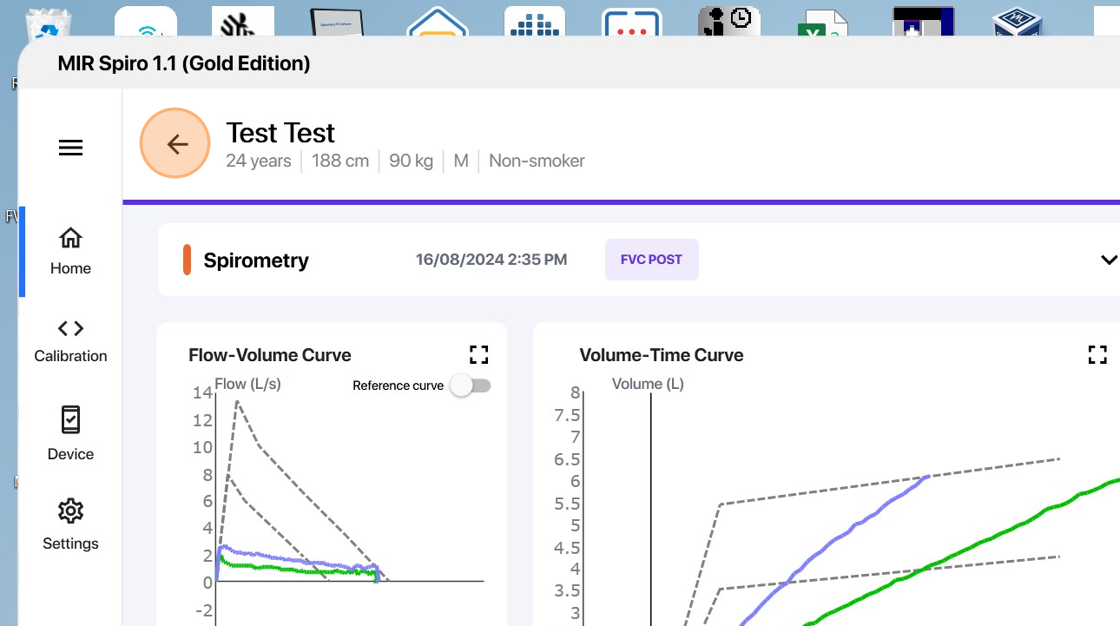
42. Click here to conduct a new Spirometry test

43. Click here

44. Click here

45. Click here

46. Click here
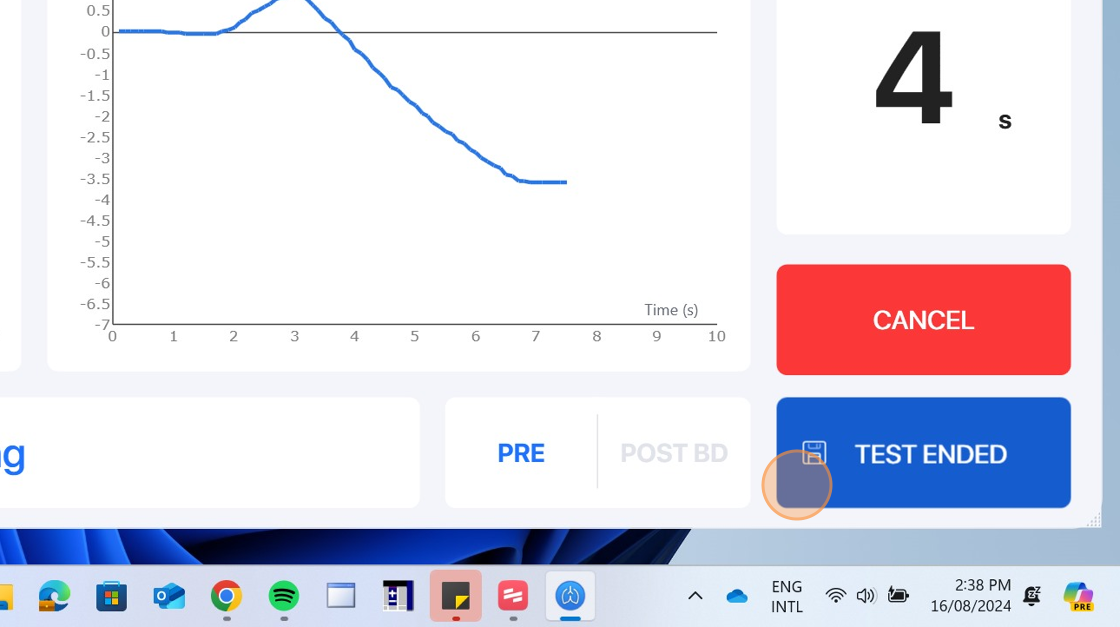
47. Click here

48. Click here to update the device software

49. Click here

50. Click here

51. Click here
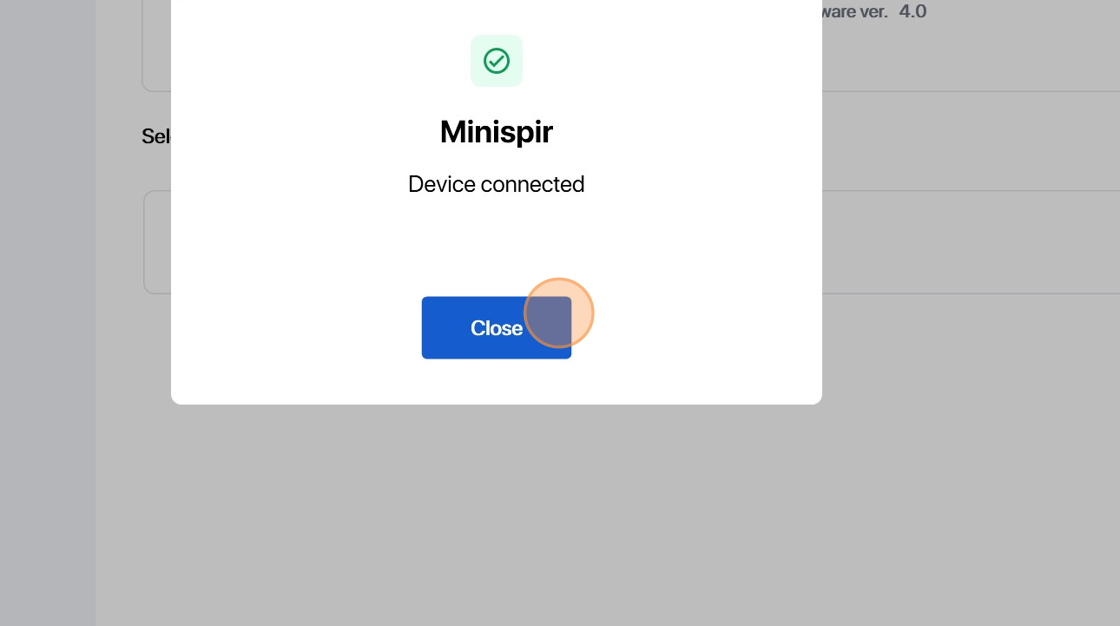
52. Click here

53. Click here

54. Click here

Troubleshooting Common Issues
Conclusion
Related Articles
Updating From WinSpiroPRO to MIR Spiro
GUIDE ON UPDATING FROM WINSPRIOPRO TO MIR SPIRO As you may not have heard, MIR has discontinue the winspiroPRO software and has stopped providing software updates. The new software MIR Spiro is a cutting-edge software solution for Spirometry and ...MIR Spirolab
USING THE SPIROLAB TURNING THE SPIROLAB ON AND OFF To turn the spirolab on, press then release the button on the front of the unit. When you turn on the device, the first screenshot shows the internal software loading progress. Only the first time ...WalkFree User Manual
INTRODUCTION PURPOSE OF THE MANUAL This manual refers to devices Walk Free. The manual represents a guide for execution of the following operations: Reasonable use of the device and use of the function keys. Preparation of the device for use ...Atmos LC27 Troubleshooting Guide
The ATMOS LC27 is our exclusive device for homecare suction. If in the unfortunate event your LC27 is failing to work properly, please try the suggestions found in this guide. What issues are covered in this guide? 1. Suction capacity - My unit has ...Cardioline TouchECG HD+ Setup Guide
Touch ECG Software Installation Guide ? Cardioline TouchECG Software Installation The Touch ECG, by Italian manufacturer Cardioline, is another exceptional product in their line of diagnostic cardiology equipment. This device is one which can be ...